记录一下初学nuxt.js的知识点📕
介绍
官网:https://zh.nuxtjs.org/guide
特性:
- 基于 Vue.js
- 自动代码分层
- 服务端渲染
- 强大的路由功能,支持异步数据
- 静态文件服务
- ES6/ES7 语法支持
- 打包和压缩 JS 和 CSS
- HTML头部标签管理
- 本地开发支持热加载
- 集成ESLint
- 支持各种样式预处理器: SASS、LESS、 Stylus等等
安装
1 | vue init nuxt-community/starter-template <project-name> |
ps: 如果没有安装 vue-cli ,需先通过 npm i -g vue-cli 来安装
安装依赖包
1 | cd <project-name> |
启动项目
1 | npm run dev |
应用运行在:http://localhost:3000 ,后面讲如何修改默认端口。
目录结构说明
1 | ├── assets //用于组织未编译的静态资源如 LESS、SASS 或 JavaScript。 |
路由
Nuxt.js 依据 pages 目录结构自动生成 vue-router 模块的路由配置。
假设 pages 的目录结构如下:
1 | pages/ |
那么,Nuxt.js 自动生成的路由配置如下:
1 | router: { |
视图
模板
你可以定制化 Nuxt.js 默认的应用模板。
定制化默认的 html 模板,只需要在应用根目录下创建一个 app.html 的文件。
默认模板为:
1 | <!DOCTYPE html> |
布局
- 默认布局
1 | <template> |
- 个性化布局
layouts 根目录下的所有文件都属于个性化布局文件,可以在页面组件中利用 layout 属性来引用。
请确保在布局文件里面增加 <nuxt/> 组件用于显示页面非布局内容。
for example: layouts/default.vue
1 | <template> |
在 pages/index.vue 里,可以指定页面组件使用该布局
1 | <script> |
页面
页面组件实际上是 Vue 组件,只不过 Nuxt.js 为这些组件添加了一些特殊的配置项(对应 Nuxt.js 提供的功能特性)以便你能快速开发通用应用。
1 | <template> |
插件
使用 element UI
首先增加文件 plugins/element-ui.js
1 | import Vue from 'vue' |
在 nuxt.config.js 中配置
1 | plugins: [ |
只在浏览器里使用的插件
nuxt.config.js1
2
3
4
5module.exports = {
plugins: [
{ src: '~plugins/element-ui', ssr: false }
]
}
异步数据
asyncData
在渲染组件之前异步获取数据。
asyncData方法会在组件(限于页面组件)每次加载之前被调用。它可以在服务端或路由更新之前被调用。在这个方法被调用的时候,第一个参数被设定为当前页面的上下文对象,你可以利用 asyncData方法来获取数据并返回给当前组件。
1 | export default { |
fetch
用于在渲染页面前填充应用的状态树(store)数据, 与 asyncData 方法类似,不同的是它不会设置组件的数据。
如果页面组件设置了 fetch 方法,它会在组件每次加载前被调用(在服务端或切换至目标路由之前)。
fetch 方法的第一个参数是页面组件的上下文对象 context,我们可以用 fetch 方法来获取数据填充应用的状态树。为了让获取过程可以异步,你需要返回一个 Promise,Nuxt.js 会等这个 promise 完成后再渲染组件。
1 | export default { |
配置项
nuxt.config.js
1 | module.exports = { |
常见问题
修改端口号
package.json
1 | "config": { |
使用外部资源
在 nuxt.config.js 中配置你想引用的资源文件:
1 | module.exports = { |
局部配置
可在 pages 目录内的 .vue 文件中引用外部资源,如下所示:
1 | <template> |
meta 标签重复
为了避免子组件中的meta标签不能正确覆盖父组件中相同的标签而产生重复的现象,建议利用 hid 键为meta标签配一个唯一的标识编号。
1 | head: { |
记录下搭建博客的方法📕~
文档
安装
- Node.js
- Git
1 | //安装Hexo |
建站
1 | hexo init <folder> |
新建完成之后指定文件夹目录如下
1 | ├── _config.yml //在此文件中配置git仓库,下面会详细介绍 |
到此站已经建好了,下面去Github上建立自己的仓库吧!🎉🎉🎉🎉
建立仓库
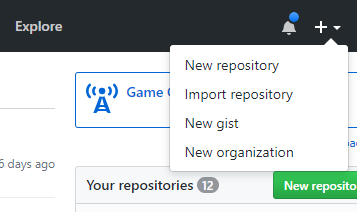
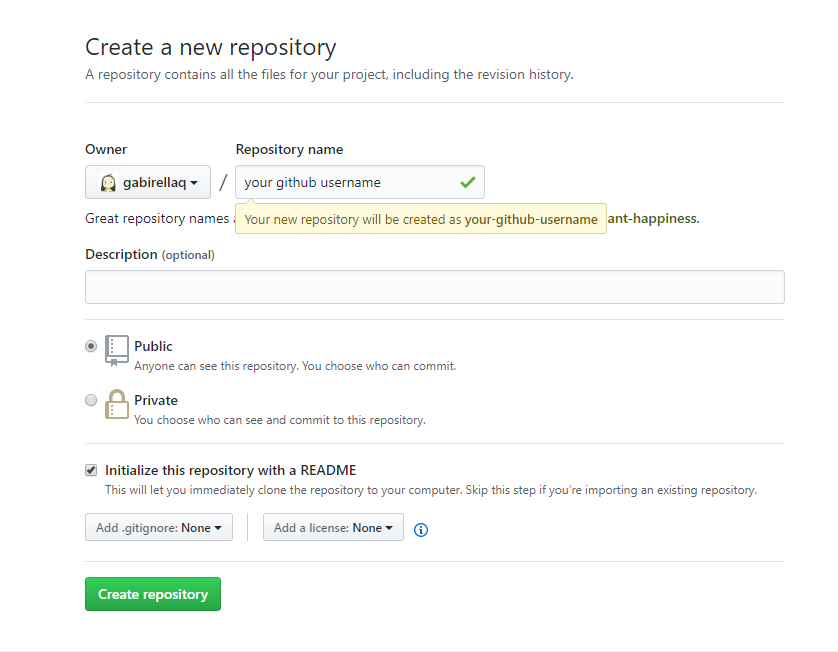
ps:Repository name必须是 xxx.github.io (xxx是你的github username)
安装必备插件
1 | npm install hexo-deployer-git |
配置仓库
1 | //_config.yml |
写博客
1 | //<title>是文章标题 |
完成
浏览https://xxx.githu.io ✌✌✌
安装主题
安装主题之前先把默认主题清空
1
hexo clean
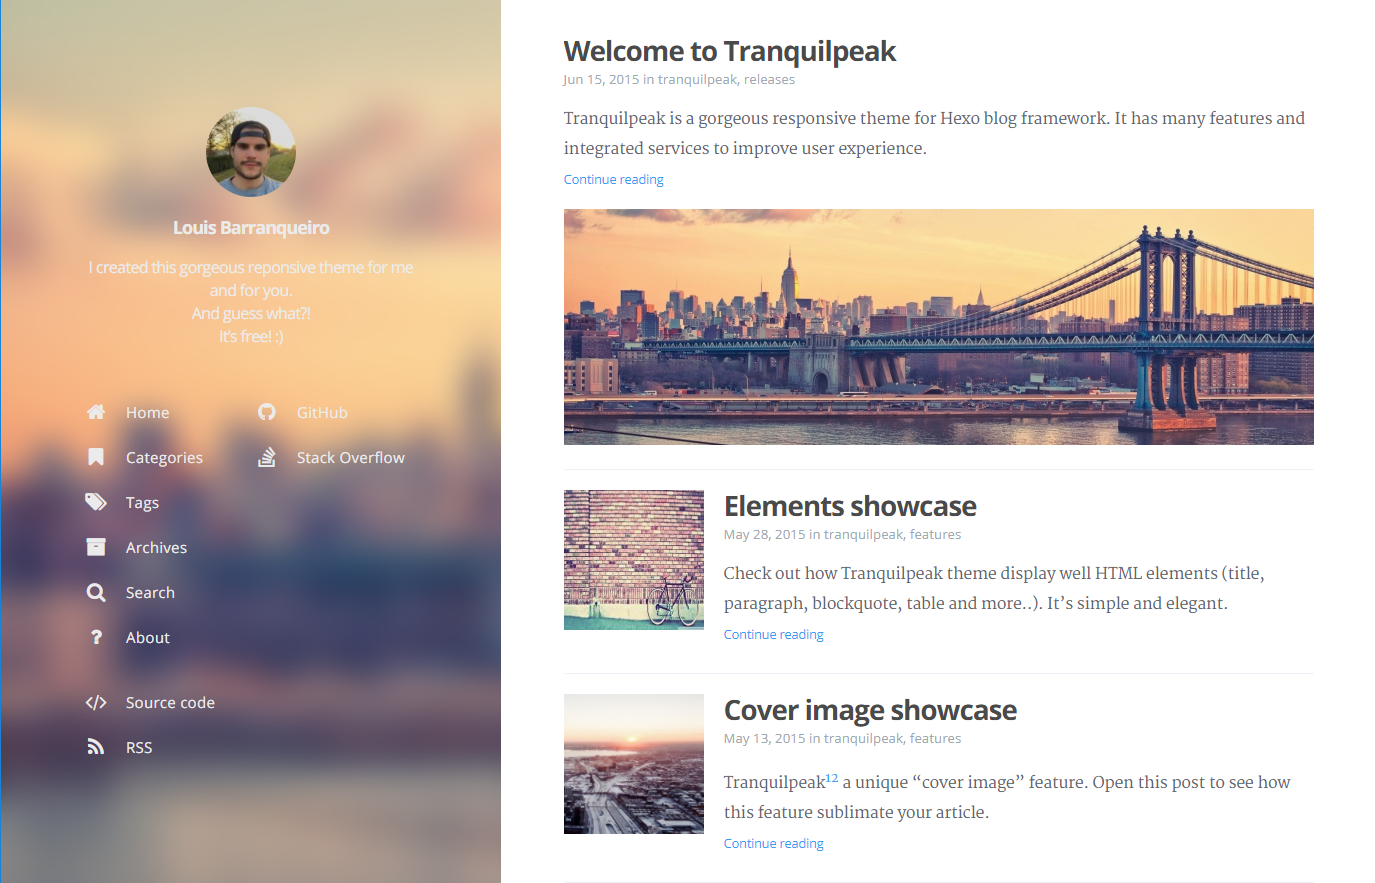
以tranquilpeak为例。
1
2
3
4
5
6
7
1、Run git clone https://github.com/LouisBarranqueiro/hexo-theme-tranquilpeak.git
2、Rename the folder in tranquilpeak and place it in themes folder of your Hexo blog
3、Modify the theme in _config.yml by changing theme variable to tranquilpeak
4、Complete theme/tranquilpeak/_config.yml with your information by following directives in comments
5、Go in theme/tranquilpeak folder with cd themes/tranquilpeak
6、Install requirements
7、Run npm install to install NPM dependencies
最近刚刚写好了网易云音乐(wymusic)的实例,那就总结总结吧~~~~
先感谢感谢前人的努力吧
因为Binaryify大神对接口的不对更新才有了这篇文章,感谢感谢!
公共引用
main.js(以element ui的使用为例)
1 | import Element from 'element-ui' |
关于分类
将view文件统一放在 src/pages/ 下面
将component文件统一放在 src/components/ 下面
vue-router
router/index.js
1 | mport Vue from 'vue' |
src/app.vue
1 | <template> |
组件引用
src/pages/Recommend.vue
1 | <template> |
组件之间通信
父子组件之间(props)
1 | //在父组件中注册子组件 |
ps: (:toBanner)代表值是动态获取的;(title)代表值是静态的
子父组件传值(emit)
1 | //子组件: |
vuex
封装axios
1 | //src/config.js |
使用
- 在src先新建store文件夹
- store中目录包含 index.js 和 modules文件夹
- 在src/main.js中引用store
1 | //src/store/index.js |
在view中使用
1 | //Recommend.vue |
公共js(filter.js为例)
将公共js部分写在src/filter.js内,在src/main.js中导入即可
1 | //filter.js |
sass
- 将公共变量写在 src/assets/css/variables.scss
- 将公共样式写在 src/assets/css/style.scss
- 在src/main.js 中引用
1 | //variables.scss |
1 | //main.js |
Welcome to Hexo! This is your very first post. Check documentation for more info. If you get any problems when using Hexo, you can find the answer in troubleshooting or you can ask me on GitHub.
Quick Start
Create a new post
1 | $ hexo new "My New Post" |
More info: Writing
Run server
1 | $ hexo server |
More info: Server
Generate static files
1 | $ hexo generate |
More info: Generating
Deploy to remote sites
1 | $ hexo deploy |
More info: Deployment