搭建博客
记录下搭建博客的方法📕~
文档
安装
- Node.js
- Git
1 | //安装Hexo |
建站
1 | hexo init <folder> |
新建完成之后指定文件夹目录如下
1 | ├── _config.yml //在此文件中配置git仓库,下面会详细介绍 |
到此站已经建好了,下面去Github上建立自己的仓库吧!🎉🎉🎉🎉
建立仓库
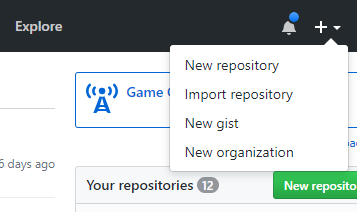
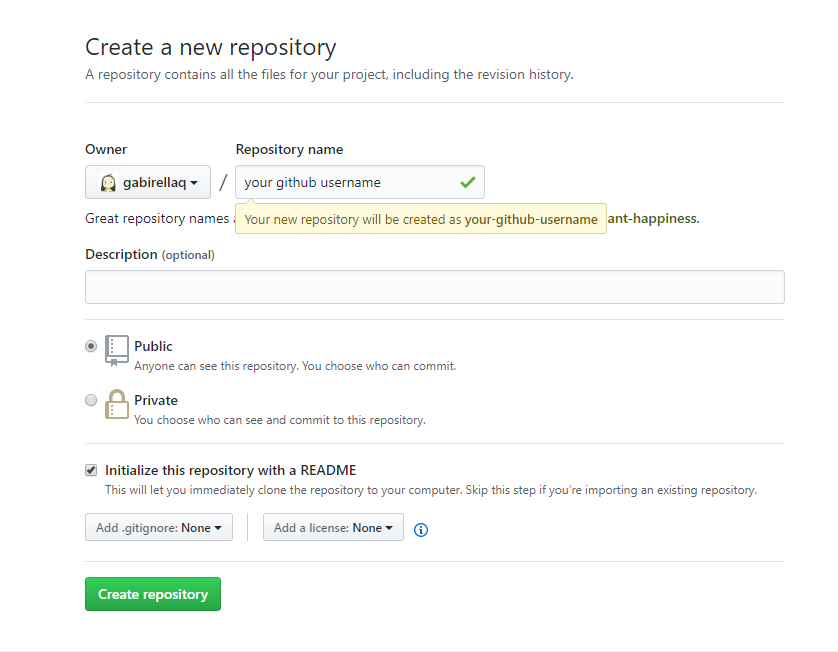
ps:Repository name必须是 xxx.github.io (xxx是你的github username)
安装必备插件
1 | npm install hexo-deployer-git |
配置仓库
1 | //_config.yml |
写博客
1 | //<title>是文章标题 |
完成
浏览https://xxx.githu.io ✌✌✌
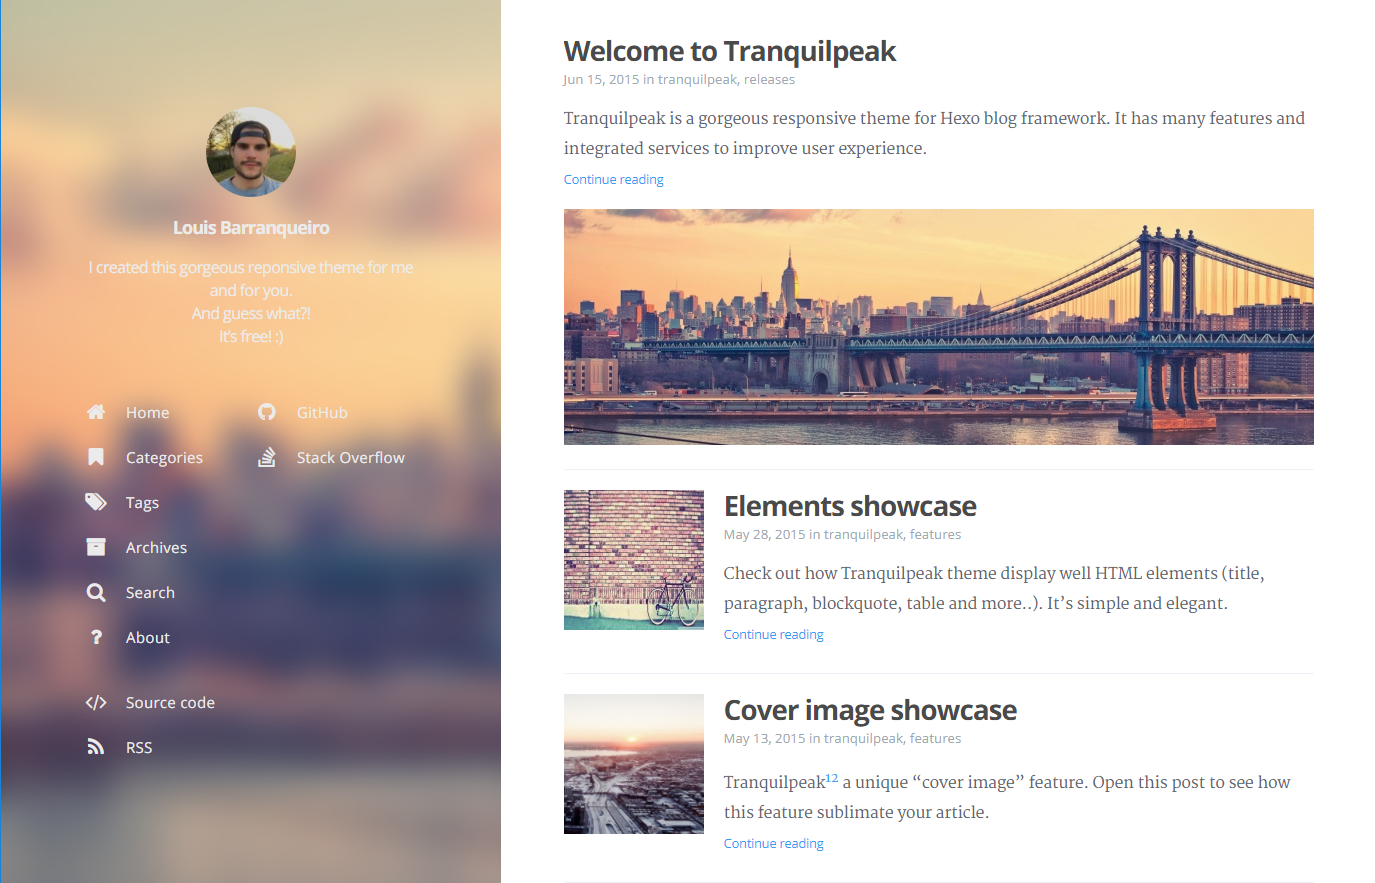
安装主题
安装主题之前先把默认主题清空
1
hexo clean
以tranquilpeak为例。
1
2
3
4
5
6
7
1、Run git clone https://github.com/LouisBarranqueiro/hexo-theme-tranquilpeak.git
2、Rename the folder in tranquilpeak and place it in themes folder of your Hexo blog
3、Modify the theme in _config.yml by changing theme variable to tranquilpeak
4、Complete theme/tranquilpeak/_config.yml with your information by following directives in comments
5、Go in theme/tranquilpeak folder with cd themes/tranquilpeak
6、Install requirements
7、Run npm install to install NPM dependencies